Getting Started
Getting Started
This guide walks you through installing Hover Translate and preparing Chrome’s built-in English ⇄ Japanese translation.
1. Check browser support
Hover Translate uses the Chrome built-in Translator API.
- Use desktop Chrome 138 or later.
- Mobile Chrome, Firefox, and Safari are not supported.
- Chrome may need to download language packs the first time you use the extension.
2. Install the extension
- Open the Hover Translate listing on the Chrome Web Store.
- Click Add to Chrome, then confirm in the dialog.
- The Hover Translate icon appears in the Chrome toolbar when installation finishes.
3. Prepare language packs
- Click the Hover Translate extension icon to open the popup.
- In Engine, click Prepare if the popup asks you to prepare language packs.
- Keep Chrome open while the English and Japanese language packs download.
- Confirm the popup shows
Ready for English ⇄ Japanese.
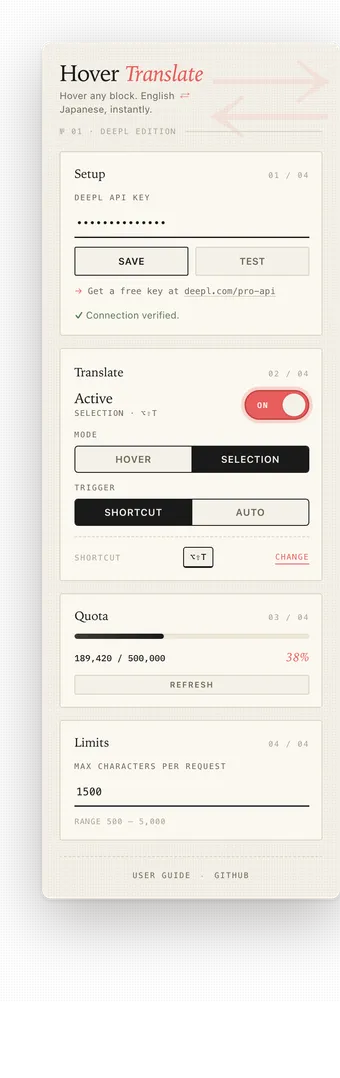
4. Turn it on and pick a mode
- In Translate, switch the extension to ON.
- Choose a mode:
- Hover translates the nearest paragraph automatically when you hover over it.
- Selection translates only highlighted text. Selection mode can use Shortcut (
Alt+Shift+T) or Auto on mouse release.
- Open any normal web page with English or Japanese text and try your chosen mode.
- A translation tooltip appears next to the source text.
If the tooltip does not appear or the popup reports an error, continue with the Troubleshooting guide.